With the increasing popularity of interior designing and candle making, people are trying to come up with new and innovative ideas to decorate their homes. People love to design their home interiors and make their living space as comfortable as possible. Coming home after a long and exhausting day, we all need a space which is welcoming and rejuvenates your mood instantly. No one wants to go back to a place where there is no charm or positivity.
This is the reason why interior designing has seen hype in the past few years. Many institutes are offering this course where you can learn all about it and become a professional interior designer and help thousands of people build the paradise of their dreams.
There are a variety of ways to add a charm and positivity to your home and make it cosier and comfortable. You can have monochrome furniture in your living room that perfectly contrasts the area, or you can have a mini kitchen garden, or you can lighten up your house by using decorative candles and much more. There are a myriad of options available at your step, all you have to do is choose the one you like the most and think that it will go well with your house.
Candles are one of the best ways to make your house cosy and comfortable. The reason why interior designers love candles is that they can be used in every room and still give a different vibe to each room. The best thing about the candles is that you can create them at your home and decorate them the way you want to. The art of candle making is very simple and you need to collect a few items before you start.
Let’s dive deeply into the process of candle making and look at the steps one by one:
1. Decide What Kind of Wax You are Going to Use for Candle Making
There are different types of waxes available in the market. The melting capacity of each one of them is different. For example, one pound of paraffin wax will be equal to approximately 20 oz of liquid melted wax. One pound of soy wax will be equal to approximately 18 oz of liquid melted wax. Paraffin wax is the traditional wax and is widely used for making candles. If you are a beginner and learning candle making for the first time then paraffin wax is best for you. Soy wax is becoming popular in recent times because it is eco-friendly and renewable. Beeswax is mostly used by people who have experience in candle making. As this is a pure form of wax it does not retain scent or colours and it has its own natural lovely scent.
2. Have a Dedicated and Protected Area
Make sure that you have a spacious place before you start the process of candle making. Protect the area using old newspapers, wax papers, old towels or rags. Have some warm soapy water ready in case you spill something while making the candles.
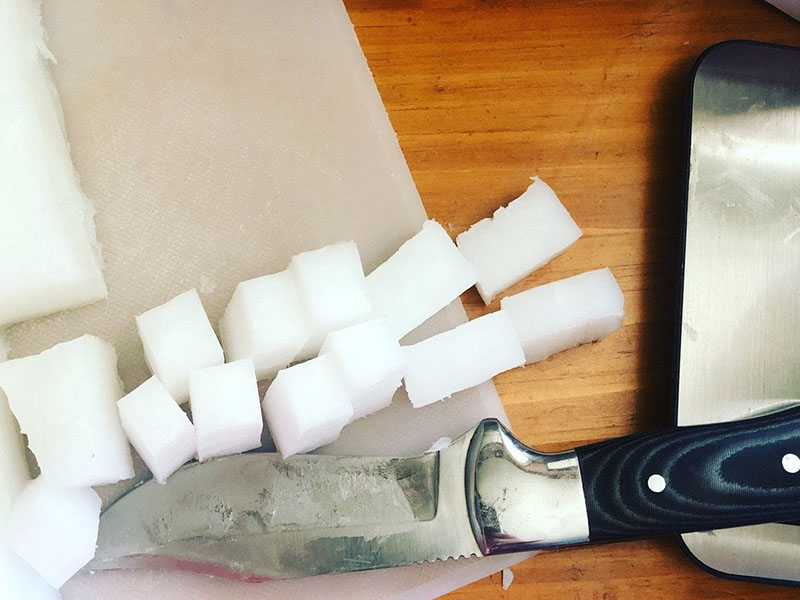
3. Cut the Wax into Chunks or Shred them into Shavings
Smaller chunks or the shavings of the wax are easier to melt. They melt at the same pace so you can ensure that no part of the wax will burn.

Image Source- Reddit
4. Fill a Pot Halfway through with Water while Candle Making
Make sure the pot you fill with water has sufficient space for a smaller container. This is to make sure that you can easily melt the wax in a makeshift double boiler.
There are many institutes that teach candle making courses. You can enrol in them if you want to learn this skill. You can also train yourself at home with the help of online courses. At Hunar Online, you can join the Home Decor Course and learn about candle making in detail.
5. Place the Chunks of Wax in a Heat Resistant Container
The next step is simple. You need to put the chunks/shreds of wax in a smaller heat-resistant container. Place it in the pot you filled with water, creating a makeshift double boiler. Now boil the water to melt the wax. You cannot put the wax directly in the pan because it will catch fire or evaporate.
6. Add a Scent for Candle Making
After your wax has melted add scent to it. You can use any scent as per your choice. You can easily get them in local craft stores. It’s advisable to read the instructions written on the bottle when you are confused about the amount. Now stir the wax properly.

Image Source- Powerblanket
7. Add Colouring
The next step is to add colours in the molten wax. You’ll need to buy oil-based dyes from the local craft stores because the normal food colouring won’t mix properly. You can also find specific dyes that are made especially for candles. Add your favourite colour and stir well.
8. Place the Wick
Now place the wick in the candle mould and make sure that it in the centre. You can hang it in the centre by placing a stick or pencil on the top. The wick should hang down straight in the centre of the mould.
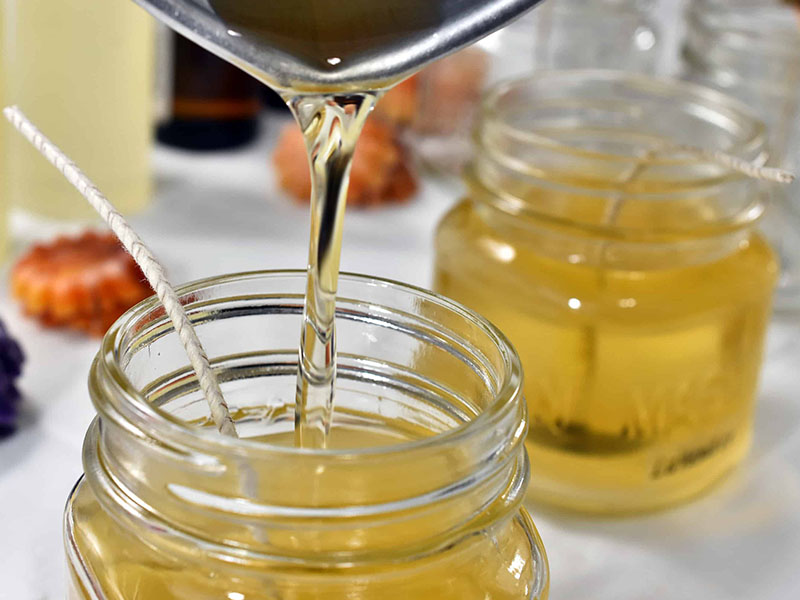
9. Pour the Molten Wax into the Mould
Carefully pour the molten wax in the mould. Try not to spill it because the stains are hard to remove. Leave the mixture for a while and let it cool.
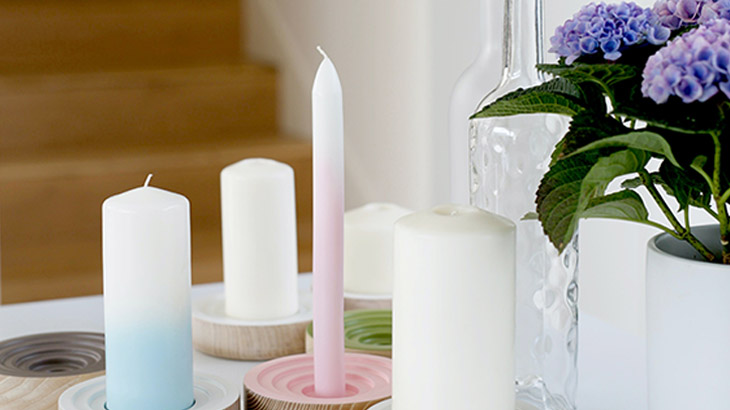
Remove the stick and trim the wicks. This will help contain the flame. Now remove the candle from the mould and your candle is ready.

Image Source- myRepublica- Nagarik Network
People assume that Interior Designing is very tough but that is not true. To master this skill, you just need to be consistent. Hunar Online Courses offers a course where you can learn home decor and use your creative skills and create beautiful home interiors. You can enrol in our online courses. It has easy video classes which are accessible every time and you can learn from anywhere. You also get 24/7 faculty support which will help you clear your doubts.
So, what are you waiting for? Join Hunar Online’s course and start learning to create beautiful home interiors from the best in this industry! Enrol now to start your journey towards a successful career!


