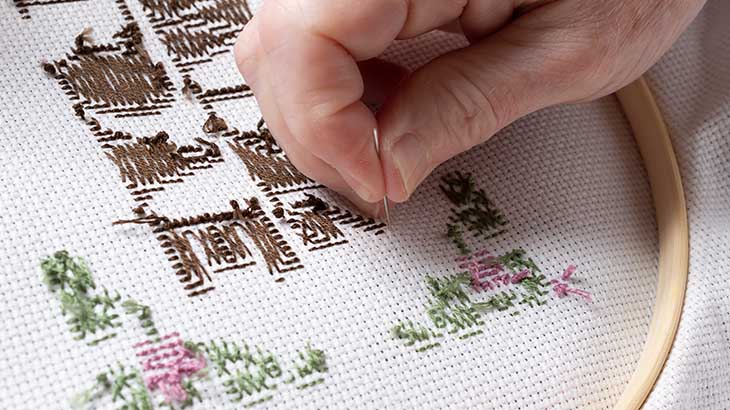
Embroidery is one of the oldest ways to create beautiful designs and patterns on a fabric. It is a craft of decorating a fabric or other materials with the help of a needle to apply thread or a yarn. An embroidery design can also incorporate the usage of other materials like pearls, beads, quills and sequins to create a more elegant look. Fabric designing is one of the most integral parts in the fashion industry and no industry can survive without authentic fabrics. Embroidery is one of the most integral parts of fashion designing.
Embroidery is an intricate art of creating beautiful designs on fabrics and it has been passed on to us over generations. When it comes to embroidery designs, people like to style their own looks. In the modern days, you can spot embroidery designs on everything be it a hat, cushion cover, bags, caps, coats, blankets, dresses, shirts and what not. Embroidery can be done with a wide variety of threads and yarns. Similarly there are different techniques to create embroidery designs on fabric. Let’s have a look at them one by one:
1. Running Stitch
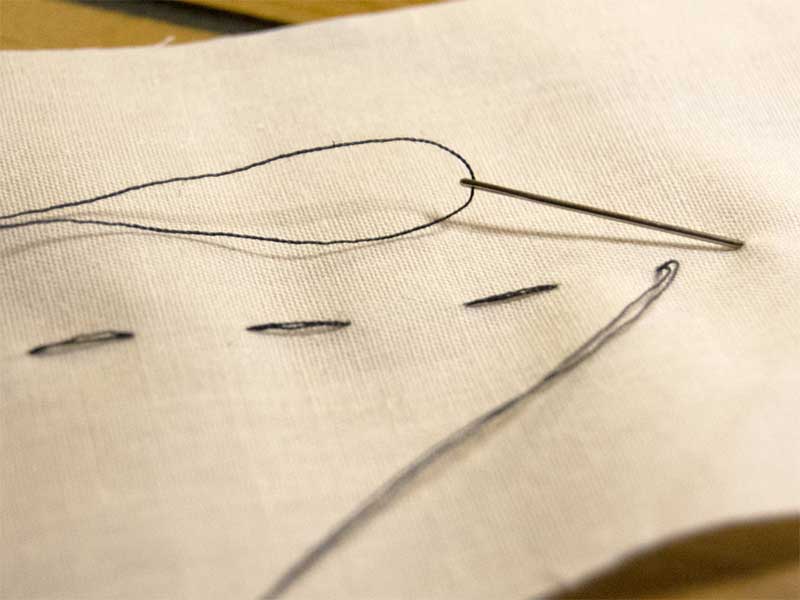
This embroidery technique is the quickest way to outline a design. There are two methods you can follow to create this design. In the first method simply weave the needle and floss the fabric in one continuous motion to create several stitches in one go. This is an easy method and consumes less time. The second method is “punch and poke”, also known as the “stabbing” method. In this method you need to push the needle through the fabric to the back, and then poke it through the front a short distance away, creating one stitch at a time.

Image Source- Howchoo
2. Backstitch
This technique of embroidery is to learn and you will get it mostly in a few stitches. Most probably you will be using this technique the most. Backstitch is great when you need a solid line, like when you are creating outlines or hand embroidered letters. Begin by pulling the needle and floss up through the fabric and do one stitch forward. From beneath, space out the needle of your desired length, pull up through the fabric, and bring the needle and floss back down through the end of the previous stitch. This embroidery technique pairs well with other stitching techniques which makes it a key stitch to learn.
Also Read: Learn Different Types of Indian Embroidery Designs with Our Embroidery Courses!
3. Split Stitch
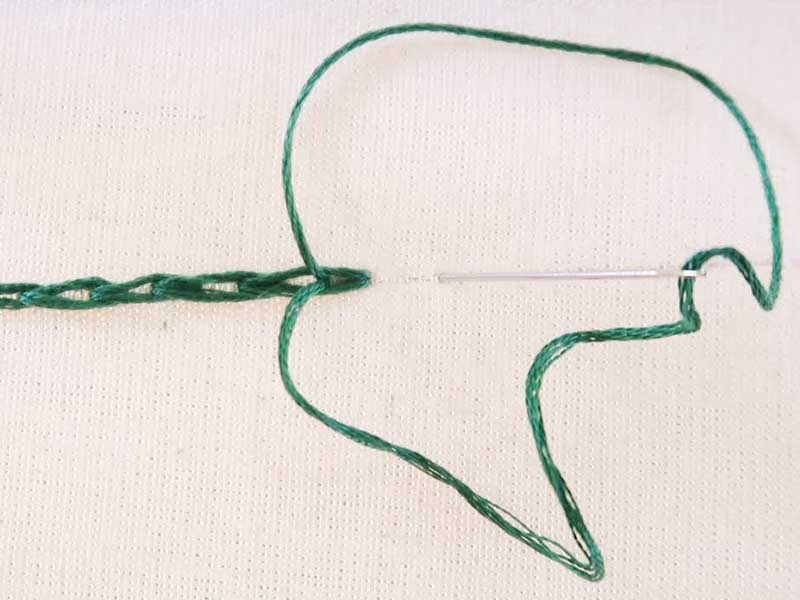
This embroidery technique is quite similar to the backstitch. It is done to create a solid line but its braided texture is what makes it unique. Split stitch is a good option for text and outlines and can also be done for filling in the design. To create this stitch, you need to pull your needle and floss up through the fabric and create one straight stitch. With your needle and floss on the backside of your hoop, bring the needle up through the center of the stitch that you just made. Stitch forward the same length as the previous stitch. Repeat by bringing the needle up through the center of each stitch.

Image Source- YouTube
4. Straight Stitch
The name itself explains this embroidery technique. This stitch is very simple and hardly requires any explanation. For creating this stitch, you just need to bring the needle and floss up through the fabric and then go back down. You can use straight stitch to create stars, scattered fills, textures and more. This is the best way to bring versatility in your embroidery designs.
5. French Knot
For many people who are into embroidery French knots can be a bit challenging but this beautiful embroidery technique is worth the effort. To pull off a perfect French knot design you even need two hands. To create this design, bring the needle and floss up through the fabric. Then wrap the floss around the needle twice. Hold the end of the floss tight and bring the needle down just next to the space where it came through the fabric. Keep holding the floss tight as you pull the needle through. You can vary the size of your French knots by wrapping the floss around the needle anywhere between one and three times. This technique is a good option when you are creating a textured fill or other design element.
6. Chain Stitch
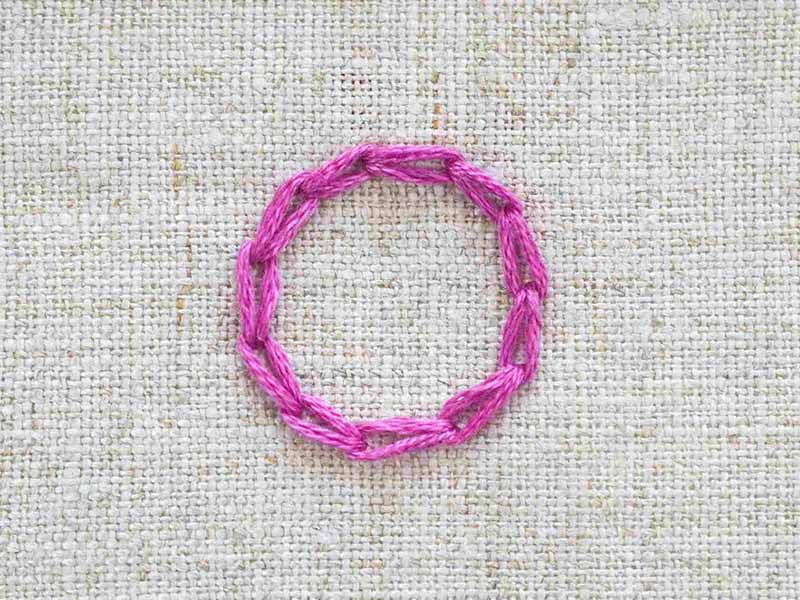
The chain stitch may look complicated but with some practice you can perfect it. It is another embroidery technique that is perfect for creating outlines or a frame around a patterned design. To make this design, you will need to pull your needle and floss up through the fabric. Then insert it down right beside where you came up first through. Allow it to form a loop so don’t pull the floss all the way through the fabric. Now bring the needle up through that loop and pull. To make the chains, repeat the same steps multiple times.

Image Source- The Spruce Crafts
People assume that Embroidery is tough but that is not the case. You can easily master this skill by being consistent. Hunar Online Courses is a platform that offers an array of courses in the field of fashion designing. Hunar Online offers easy access to online embroidery classes that you can take from the comfort of your homes. It also provides certificates after completing your course that are sure to help you start your own business. You can create different types of patterns and designs on fabrics. For all courses, Hunar Online provides sessions with experts who are available 24/7 to clarify your doubts and help you every step of the way.
So, what are you waiting for? Sign up for a creative course with Hunar Online today.


