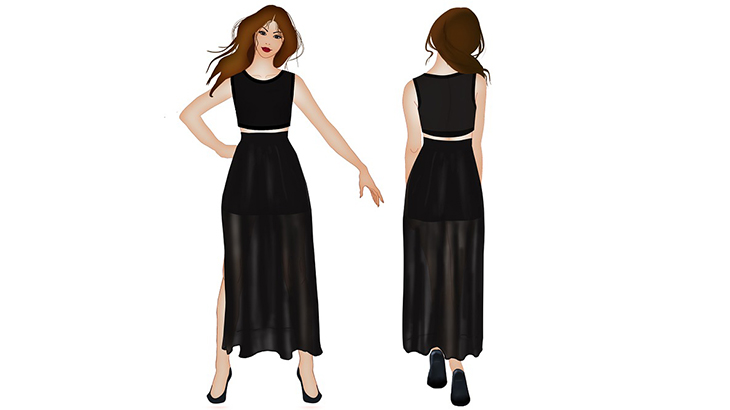
Fashion Illustration is an art of sketching the designs so that the designers are able to make a unique garment as per the customer’s demands. You can gain all this knowledge in a fashion illustration course online.
Through this blog, we will tell you how to draw a simple Fashion Design Drawing illustration in 5 steps.
Step 1: The head
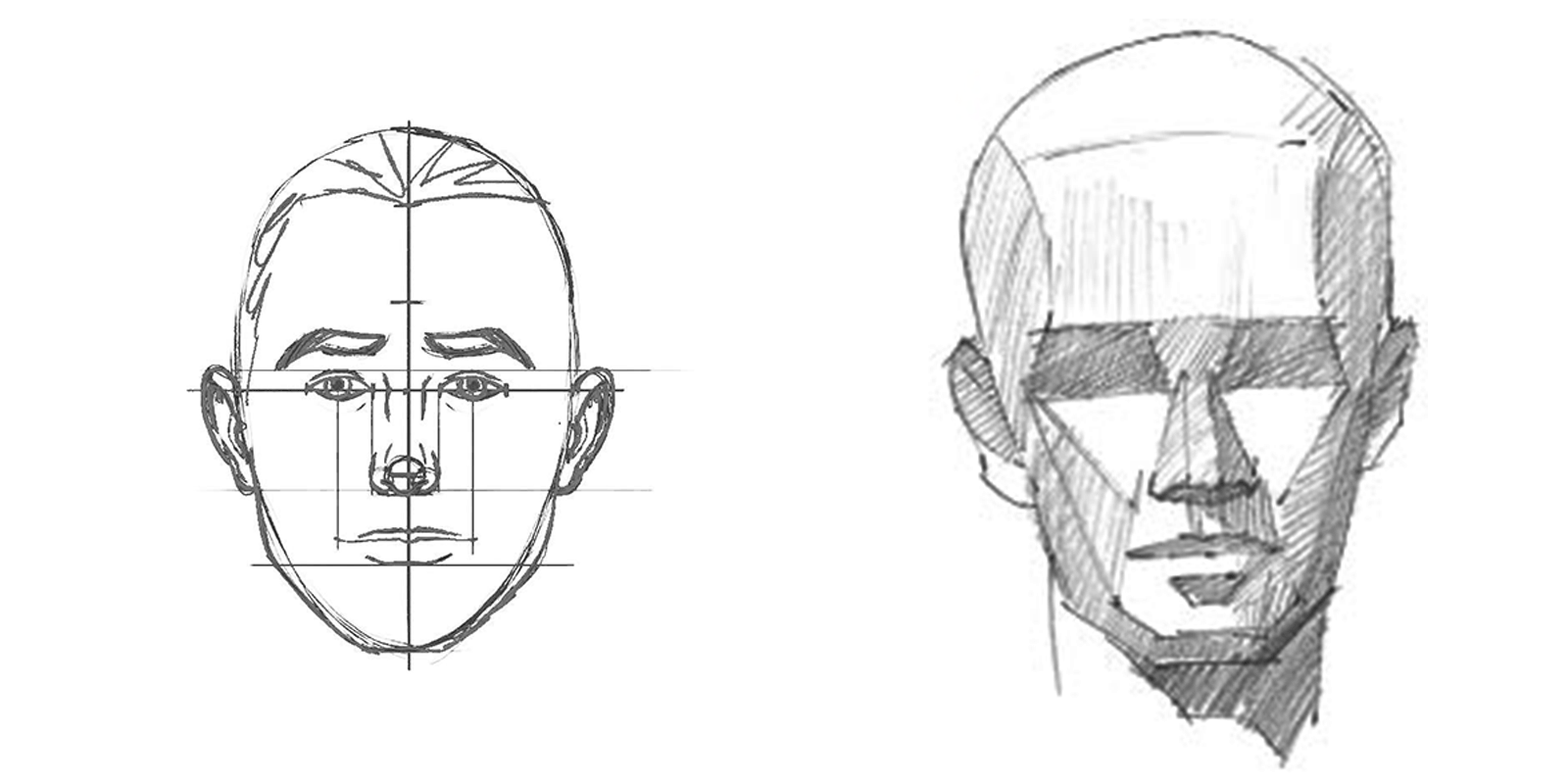
Start with the head first. Most of the illustrators prefer drawing a circle for the head. However, with a heptagon, it is a lot easier to draw the illustration accordingly with the rest of the body parts.
Step 2: The body
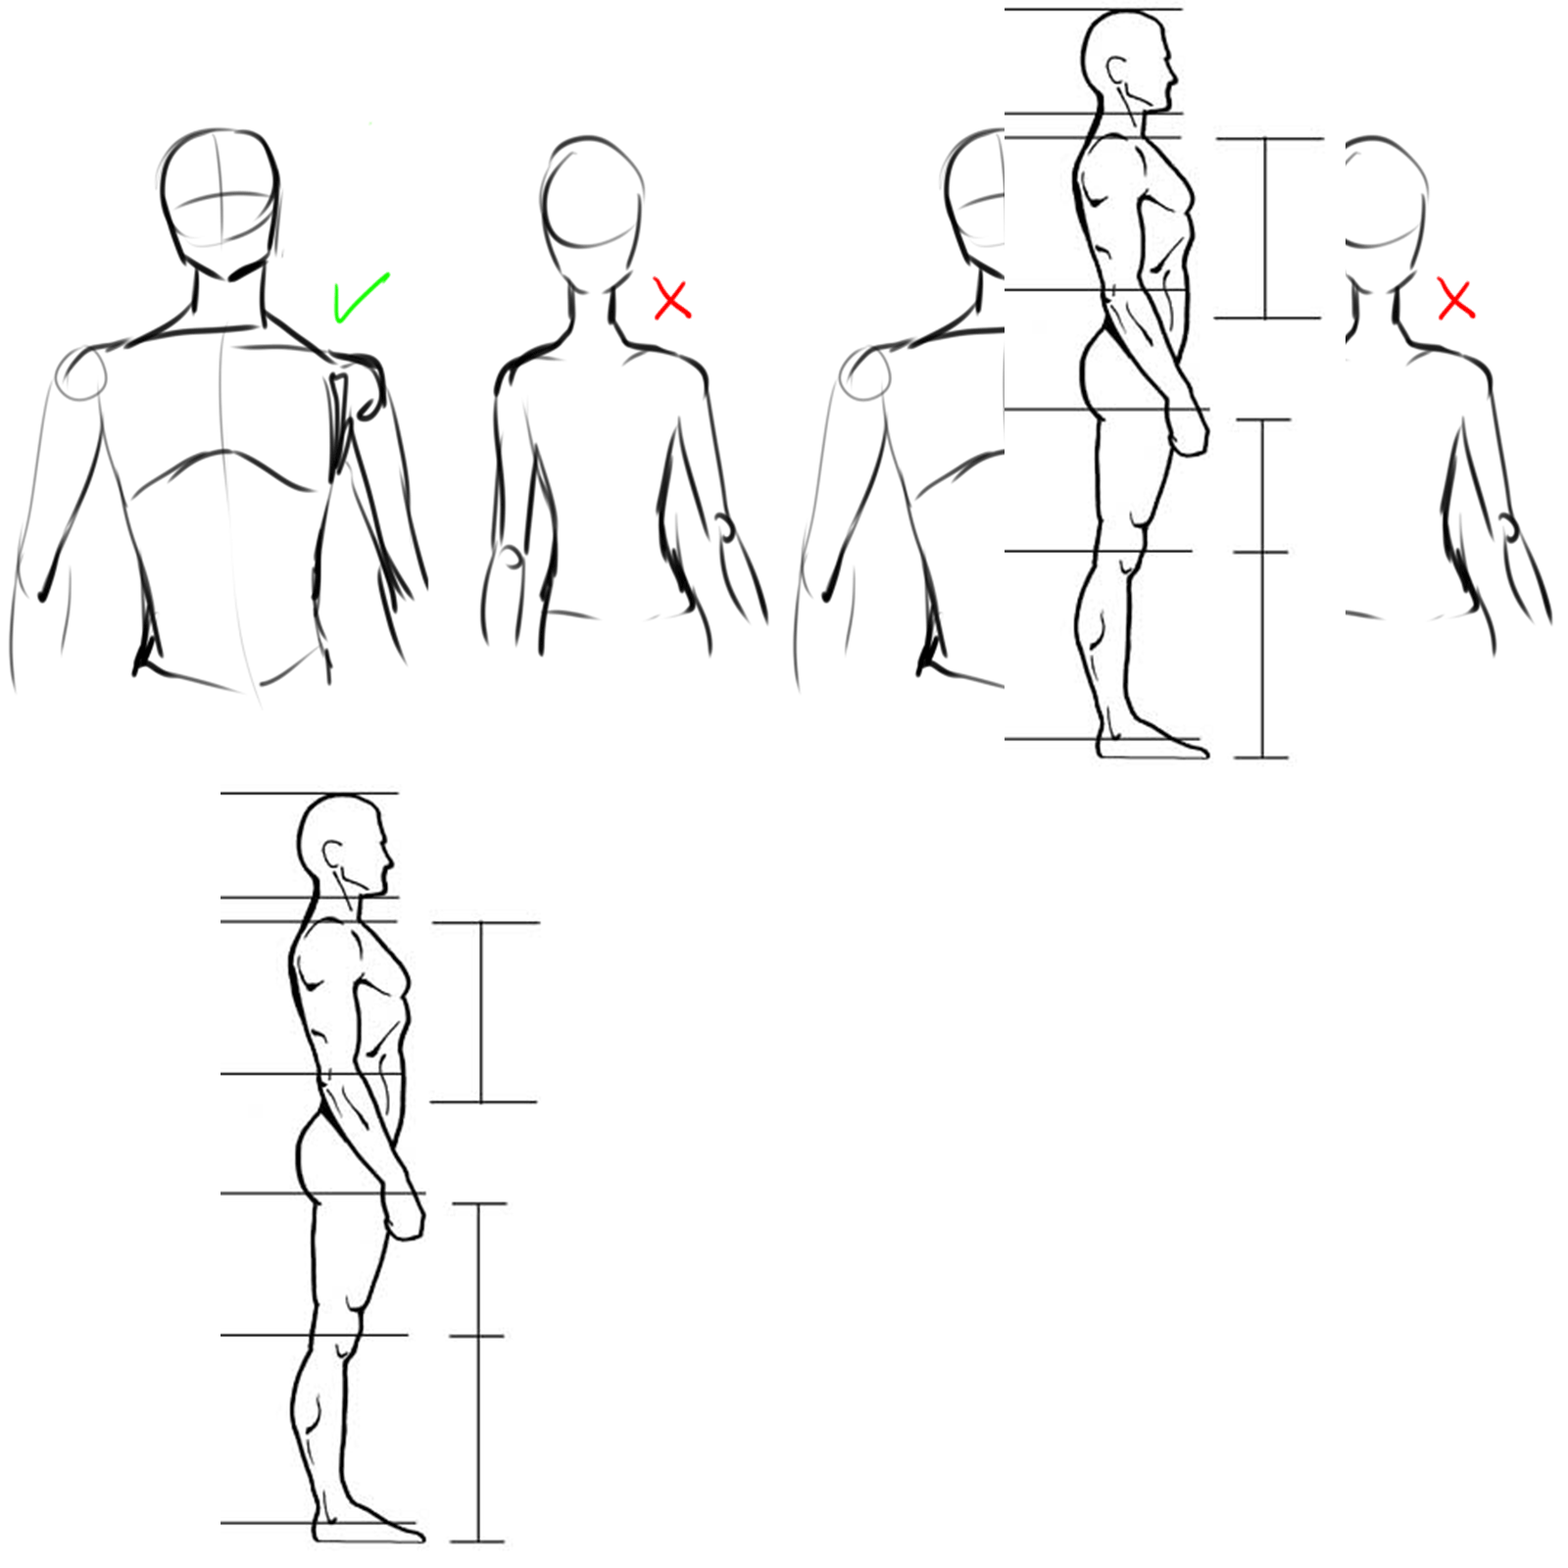
Draw four lines and extend the first line after the neck. This helps in drawing the shoulders. Draw another three lines with the same distance. The second line helps to draw the length of the torso, the third helps to connect the hips to the knees.
Step 3: The Torso
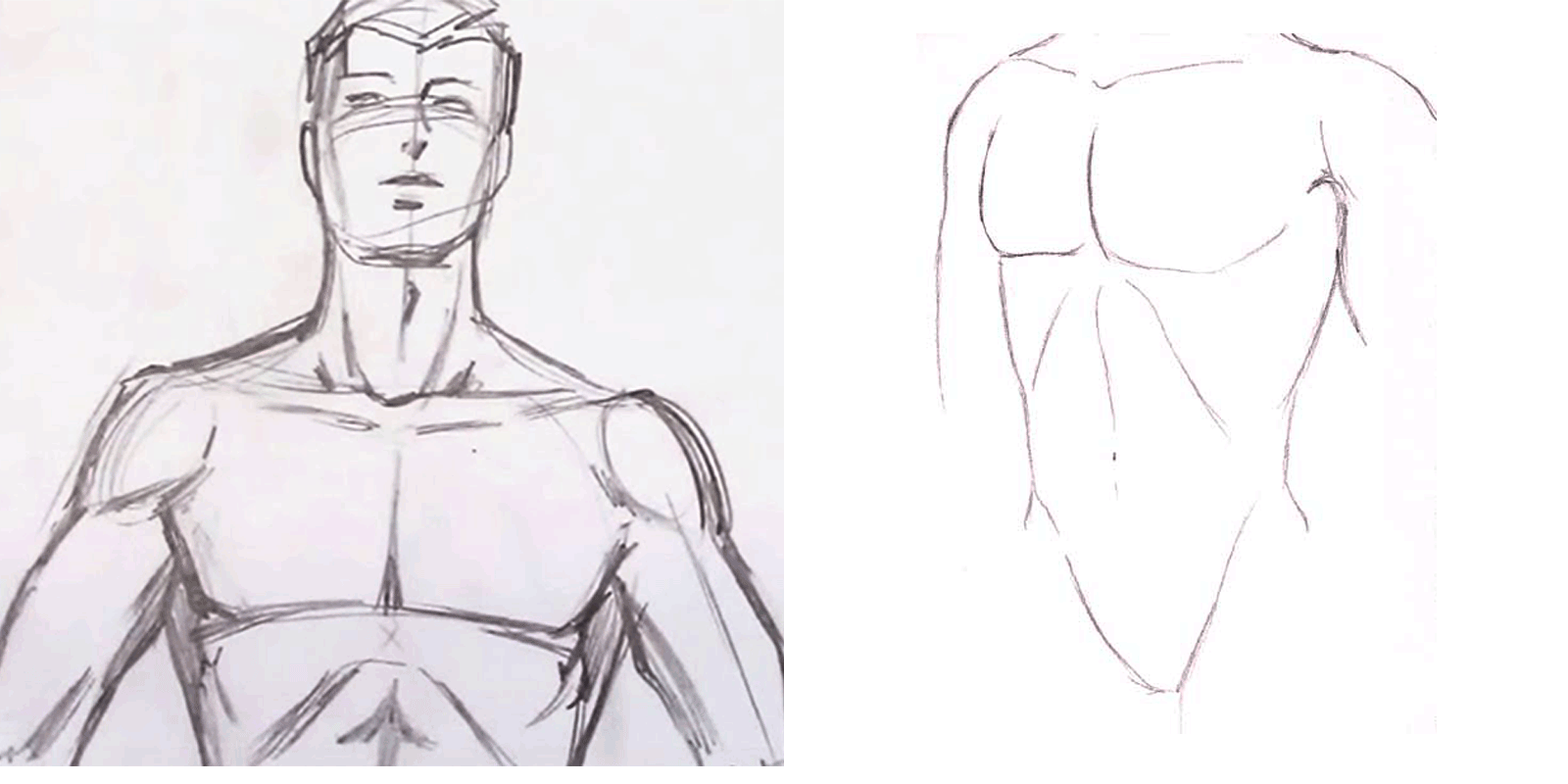
Extend the waistline depending upon the wideness of your croquis hips. Make sure they are of the same size as the shoulder. Then, cross the lines over.
Step 4: The Body
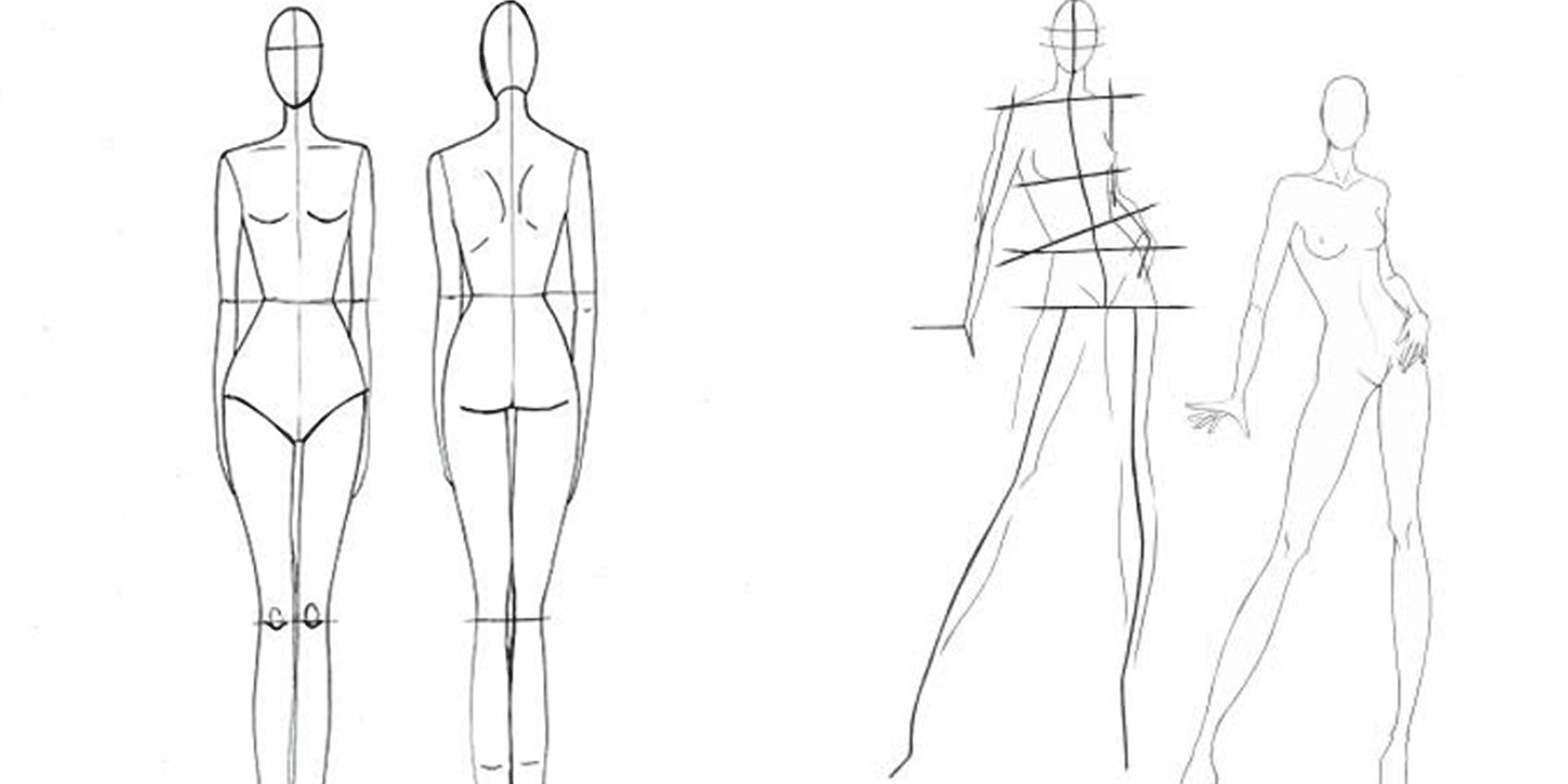
Now start drawing the legs. The center point of the crossover lines should give a hint about the middle of the thighs. Then define the face and draw the fingers.
Step 5: Inking
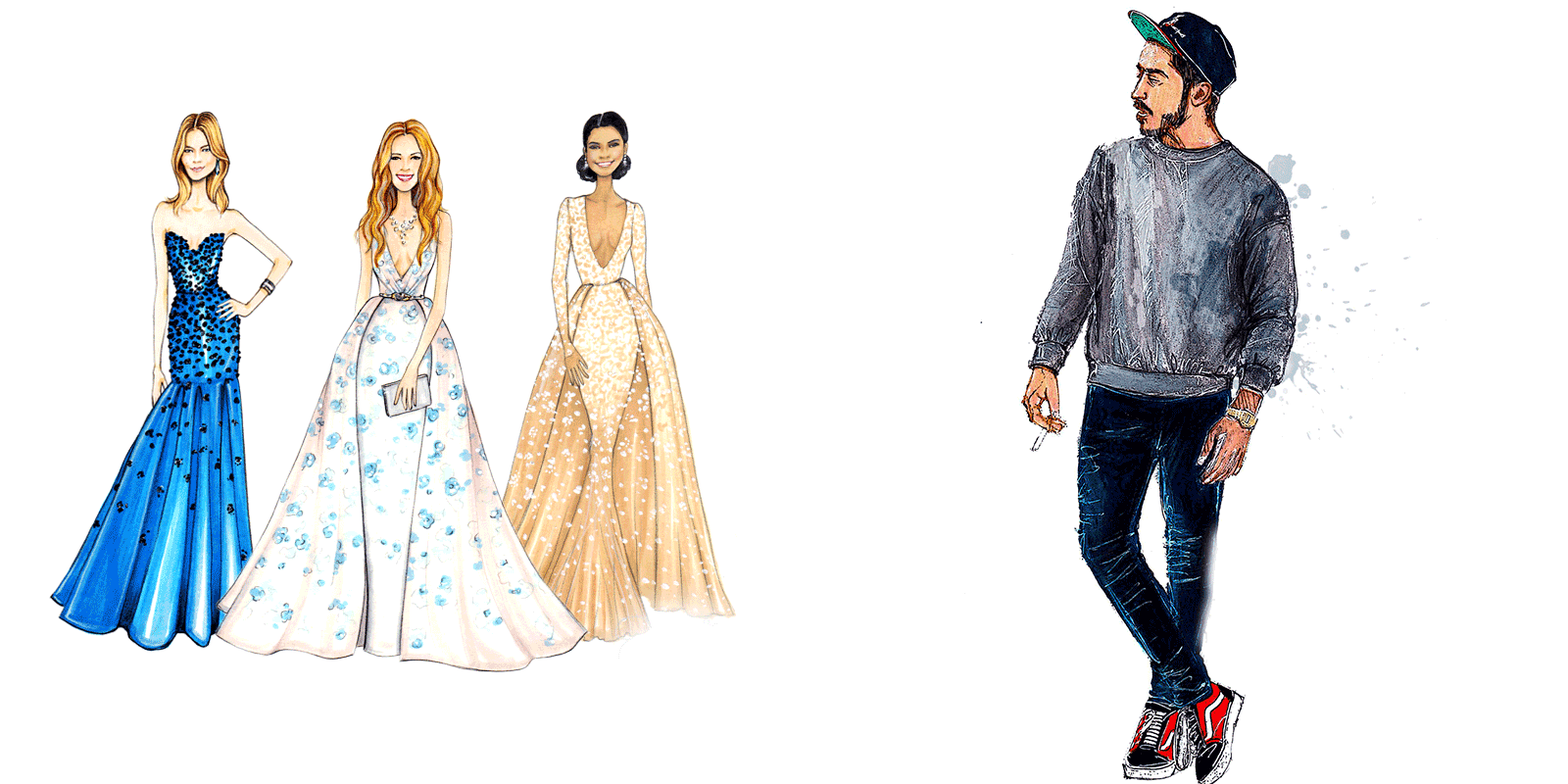
Once you are done with drawing fingers and the face, start tracing with a waterproof ink pen so that it stands out. Using a waterproof pen is important if you want a flawless drawing. Use cheap watercolour markers to colour the Fashion Design Drawing
If you wish to learn fashion illustration course online, Hunar Online Courses gives you the best fashion illustration training with online video classes.
You are just a click away from achieving your Fashion Designing Dreams. Download the Exciting Hunar Online Courses App today!

