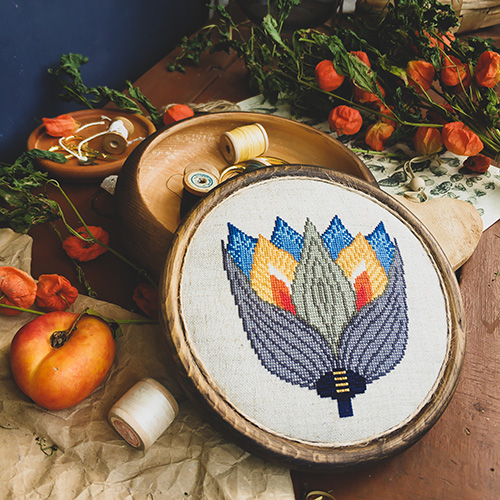
Hand embroidery is a technique of embellishing fabrics using a needle and thread. This is a traditional method of decorating fabric, which has been used for centuries to add decorative and artistic designs to various textiles. With hand embroidery, the fabric is held taut in an embroidery hoop, and the design is created by stitching onto the fabric using a needle and thread.
Hand embroidery can be done using a variety of different stitches, each of which creates a different effect. Some common stitches used in hand embroidery include the backstitch, chain stitch, satin stitch, and French knot, among many others. Embroidery can be used to create intricate designs, or it can be used to add simple embellishments to plain fabrics. Hand embroidery is a versatile art form that can be used to decorate a wide range of fabrics, including clothing, accessories, and home decor items. It is a skill that can be learned and practised by anyone, and it offers a great opportunity for self-expression and creativity.

LET’S START MAKING A CUSHION WITH HAND EMBROIDERY
Hand embroidery is a traditional technique of decorating fabrics by stitching designs onto them using a needle and thread. Here are some basic steps to get started with hand embroidery:
Choose Your Fabric
Select a fabric that you want to embroider on. Cotton, linen, and wool are good options for beginners.
Select Your Embroidery Hoop
An embroidery hoop is a tool that helps to keep the fabric taut and in place while you stitch. Place your fabric in the hoop and tighten the screw to hold it in place.
Choose Your Embroidery Floss
Embroidery floss is a multi-stranded thread made from cotton or silk. Select a colour of floss that you want to use and separate the number of strands you want to work with. The number of strands you use will depend on the thickness of your fabric and the size of your design.
Transfer Your Design
You can draw your design directly onto the fabric using a pencil or transfer it using a transfer pen, transfer paper, or tracing paper. You can also use a pre-printed embroidery pattern.

Start Stitching
There are many types of embroidery stitches, but some basic stitches to start with include backstitch, satin stitch, and French knot. Follow your design and use the appropriate stitch to fill in your design.
Finishing
Once you have completed your design, remove the fabric from the hoop and trim any excess fabric. You can also wash and iron your finished embroidery piece.
DIY TECHNIQUES
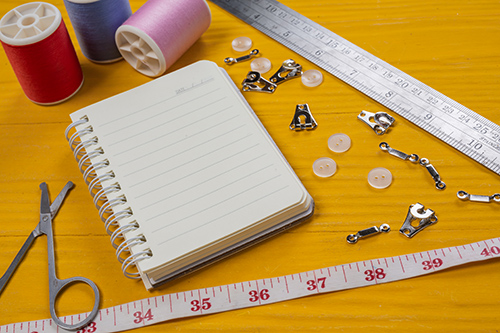
Materials Needed:
- Fabric for cushion cover (preferably a solid colour or a light pattern)
- Embroidery hoop
- Embroidery floss (in the colours of your choice)
- Embroidery needle
- Scissors
- Cushion insert
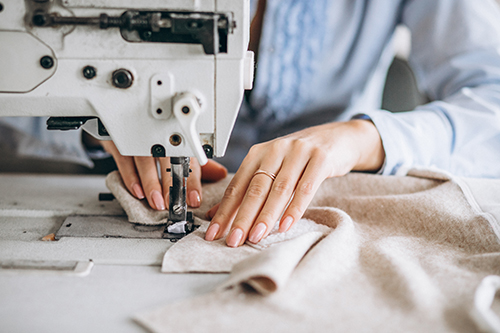
- Sewing machine or needle and thread
- Fabric pen or pencil

Method to Make Cushions:
- Choose a solid colour or lightly patterned fabric for your cushion cover. Cut two pieces of fabric to the size of your cushion insert, leaving a 1/2-inch seam allowance on all sides.
- Choose a design for your embroidery. You can use a pre-made pattern or create your own design using a fabric pen or pencil.
- Place the fabric for the front of the cushion cover in an embroidery hoop, making sure it is taut. Thread your embroidery needle with your chosen floss colour and begin stitching your design onto the fabric.
- Use a variety of embroidery stitches to create texture and interest in your design. Some commonly used stitches include the backstitch, satin stitch, and French knot.
- Once you have completed your embroidery, remove the fabric from the embroidery hoop and trim any excess fabric.
- Place the two pieces of fabric together, right sides facing each other, and sew around three sides using a 1/2 inch seam allowance. Leave one side open for the cushion insert.
- Turn the cushion cover right side out and insert the cushion insert.
- Fold the edges of the open side inwards and sew closed using a needle and thread.
Your hand-embroidered cushion is now complete! This design can be customised in many ways, such as by using different embroidery techniques, colours, and patterns. Have fun experimenting and creating a unique cushion that reflects your personal style.

Remember to practice and be patient as hand embroidery can be a time-consuming process. Start with simple designs and gradually work your way up to more complex patterns as you gain experience. With practice, you can create beautiful and unique embroidered pieces.

At Hunar Online, you will get access to detailed video lessons and can learn from anywhere. You will get 24/7 faculty support and a chance to learn from the experts in the industry. You can also watch our trial classes and get a glimpse of our courses. You can start learning your favourite course by downloading the app.
So, what are you waiting for? Join Hunar Online Courses and do what you always wanted to do.


